Introduction
Plugins are the heart of WordPress flexibility. Whether you need to extend core functionality, add a small feature, or build a lightweight tool a custom WordPress plugin is the cleanest and most scalable solution.
Instead of modifying the functions.php file or relying on bloated third-party tools, creating a custom plugin gives you full control, portability, and better performance.
In this tutorial, we’ll walk through how to create a custom WordPress plugin from scratch including real code examples in a way that even beginners can understand.
Why Create a Custom Plugin Instead of Using functions.php?
Many beginners use the theme’s functions.php file to add custom features. While this works, it has major limitations:
- Your code is lost if you switch themes
- It clutters your theme logic
- Reusability becomes difficult
By creating a custom plugin, your code stays modular, organized, and theme-independent.
Step-by-Step: How to Create a WordPress Plugin from Scratch
Here’s a simple plugin example that adds a “Hello World” message to the admin dashboard. This will help you understand the core structure.
Step 1: Create the Plugin Folder and File
Go to your site directory:
/wp-content/plugins/
Create a new folder named:
my-first-plugin
Inside that folder, create a file named:
my-first-plugin.php
Step 2: Add the Plugin Header
Open my-first-plugin.php and add the following code:
<?php
/*
Plugin Name: My First Plugin
Plugin URI: https://yourwebsite.com/
Description: A simple plugin that adds a welcome message in the WordPress admin dashboard.
Version: 1.0
Author: Your Name
Author URI: https://yourwebsite.com/
License: GPL2
*/
This header tells WordPress how to display your plugin on the Plugins page in the dashboard.
Step 3: Add Functionality
Let’s add a simple function to show a message in the admin area:
function my_plugin_admin_notice() {
    echo '<div class="notice notice-success is-dismissible">
        <p>Hello, this is your first custom plugin in WordPress!</p>
    </div>';
}
add_action('admin_notices', 'my_plugin_admin_notice');
This code:
- Hooks into the
admin_noticesaction - Displays a green notice message in the WordPress admin dashboard
Step 4: Activate Your Plugin
Now go to:
- WordPress Admin → Plugins
- Find My First Plugin
- Click Activate
You should see a custom message on your dashboard — proof that your plugin is working!
Pro Tips for Creating Better Plugins
If you want to take it to the next level, here are a few best practices:
- Use unique function names to avoid conflicts
- Separate your logic into
includes/oradmin/folders as your plugin grows - Always sanitize and validate user input
- Add settings pages using
add_options_page()if needed - Load JS/CSS only where needed using
wp_enqueue_script()andwp_enqueue_style()
Common Use Cases for Custom Plugins
You can use your own plugins to:
- Add custom shortcodes or widgets
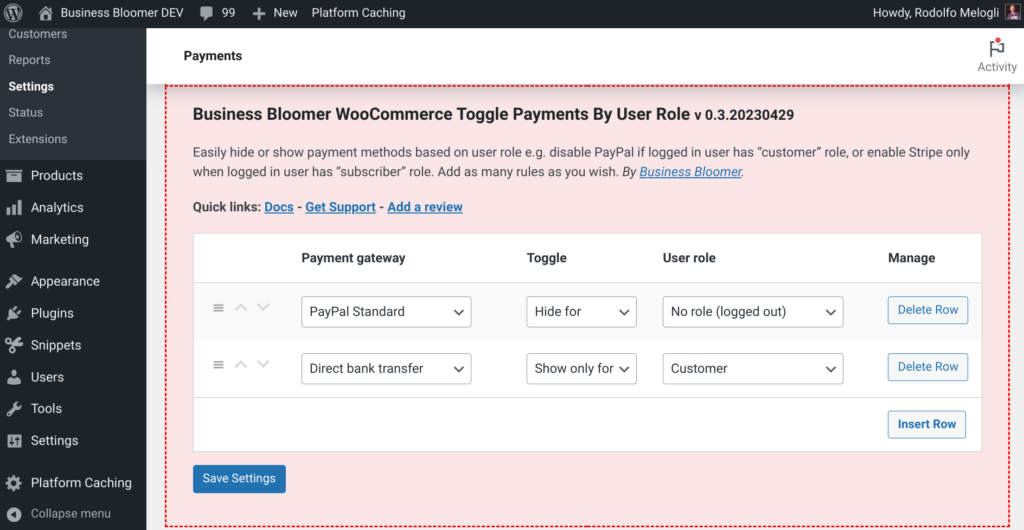
- Show/hide elements based on user roles
- Track events, logs, or form submissions
- Connect external APIs
- Create lightweight alternatives to heavy plugins
Folder Structure Example for a Real Plugin
/my-first-plugin/
├── my-first-plugin.php
├── /admin/
│   └── admin-settings.php
├── /includes/
│   └── helper-functions.php
├── /assets/
│   ├── style.css
│   └── script.js
This structure helps you scale your plugin while keeping it clean and manageable.
SEO Benefits of Using Custom Plugins
- Faster performance (less bloat = better speed scores)
- More secure with clean code
- Tailored features = better UX
- Targeted functionality helps reduce plugin conflicts
Final Thoughts
Creating a custom WordPress plugin from scratch may seem advanced, but it’s easier than most people think. You don’t need to build a giant plugin like WooCommerce even a simple feature wrapped in a plugin makes your site more maintainable, modular, and future-proof.
Once you get the basics down, the possibilities are endless.