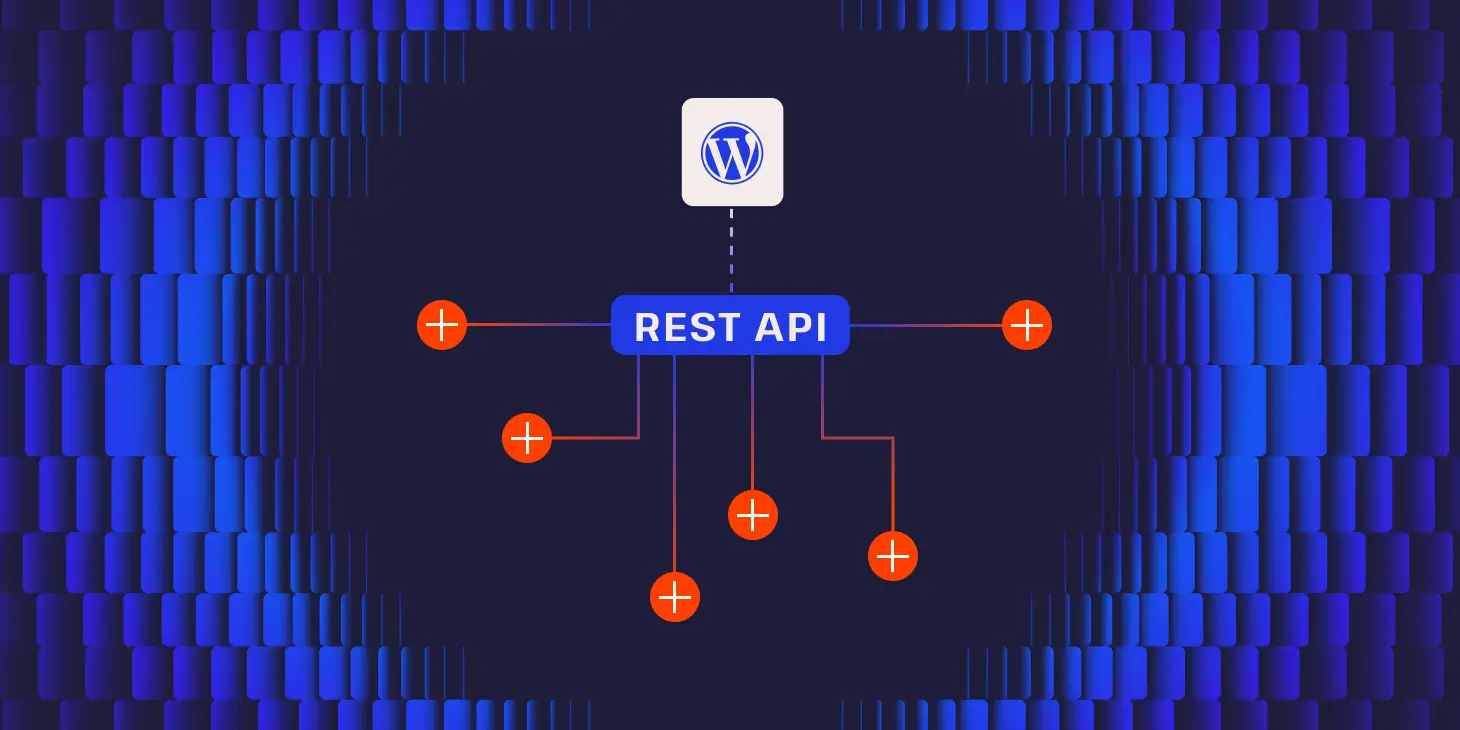
WordPress is more than just a content management system (CMS). With the WordPress REST API, you can turn your WordPress site into a powerful backend that communicates with external apps, JavaScript frameworks (React, Vue, Angular), mobile apps, or even other websites.
In this guide, we’ll walk through how to build a custom REST API endpoint in WordPress—from registering the route to returning secure and structured JSON responses.
What is the WordPress REST API?
The REST API in WordPress provides a set of endpoints that return WordPress data in JSON format. For example:
https://yoursite.com/wp-json/wp/v2/posts
This endpoint fetches your WordPress posts in JSON format.
But what if you want to expose custom data (like product inventory, custom post types, or user meta)? That’s where custom REST API endpoints come in.
Register a Custom REST Route
WordPress provides the register_rest_route() function to define new endpoints.
Add the following code inside your custom plugin or your theme’s functions.php:
add_action( 'rest_api_init', function () {
    register_rest_route( 'myplugin/v1', '/hello', array(
        'methods'  => 'GET',
        'callback' => 'myplugin_hello_world',
    ));
});

function myplugin_hello_world( $request ) {
    return array(
        'success' => true,
        'message' => 'Hello World! Your custom REST API is working',
    );
}
Now visit:
https://yoursite.com/wp-json/myplugin/v1/hello
You’ll see a JSON response:
{
  "success": true,
  "message": "Hello World! Your custom REST API is working"
}
Accept Parameters in Your Endpoint
Let’s say we want to accept a name parameter and return a personalized response.
add_action( 'rest_api_init', function () {
    register_rest_route( 'myplugin/v1', '/greet', array(
        'methods'  => 'GET',
        'callback' => 'myplugin_greet_user',
        'args'     => array(
            'name' => array(
                'required'          => true,
                'sanitize_callback' => 'sanitize_text_field',
            ),
        ),
    ));
});

function myplugin_greet_user( $request ) {
    $name = $request->get_param( 'name' );
    return array(
        'message' => "Hello, {$name}!",
    );
}
Now try:
https://yoursite.com/wp-json/myplugin/v1/greet?name=john
Response:
{
  "message": "Hello, john!"
}
Add Authentication & Permissions
You don’t want every endpoint to be publicly accessible. For example, updating user data should only be allowed for logged-in users.
Add a permission callback:
add_action( 'rest_api_init', function () {
    register_rest_route( 'myplugin/v1', '/secret-data', array(
        'methods'             => 'GET',
        'callback'            => 'myplugin_secret_data',
        'permission_callback' => function () {
            return current_user_can( 'manage_options' );
        },
    ));
});

function myplugin_secret_data( $request ) {
    return array(
        'status' => 'success',
        'data'   => 'This is secret data visible only to admins',
    );
}
Now only admins can access this endpoint. Others will get:
{
  "code": "rest_forbidden",
  "message": "Sorry, you are not allowed to do that.",
  "data": {
    "status": 401
  }
}
Use REST API with JavaScript / React
You can consume this API with JavaScript:
fetch('https://yoursite.com/wp-json/myplugin/v1/greet?name=Harshil')
  .then(response => response.json())
  .then(data => console.log(data.message));
This makes it super easy to integrate with React, Vue, or a mobile app.
Best Practices for Custom REST Endpoints
Always sanitize and validate input using sanitize_text_field(), intval(), etc.
Use permission callbacks to secure private endpoints.
Use namespaces and versioning (myplugin/v1) for forward compatibility.
Return structured JSON with wp_send_json_success() or wp_send_json_error().
Keep performance in mind—cache results if needed.


