When users fill out forms on your WordPress website, the last thing you want is for them to lose their data—or worse, submit incomplete or incorrect information. That’s where live validation and auto-save come to the rescue!
In this guide, you’ll learn how to use jQuery in your WordPress forms to:
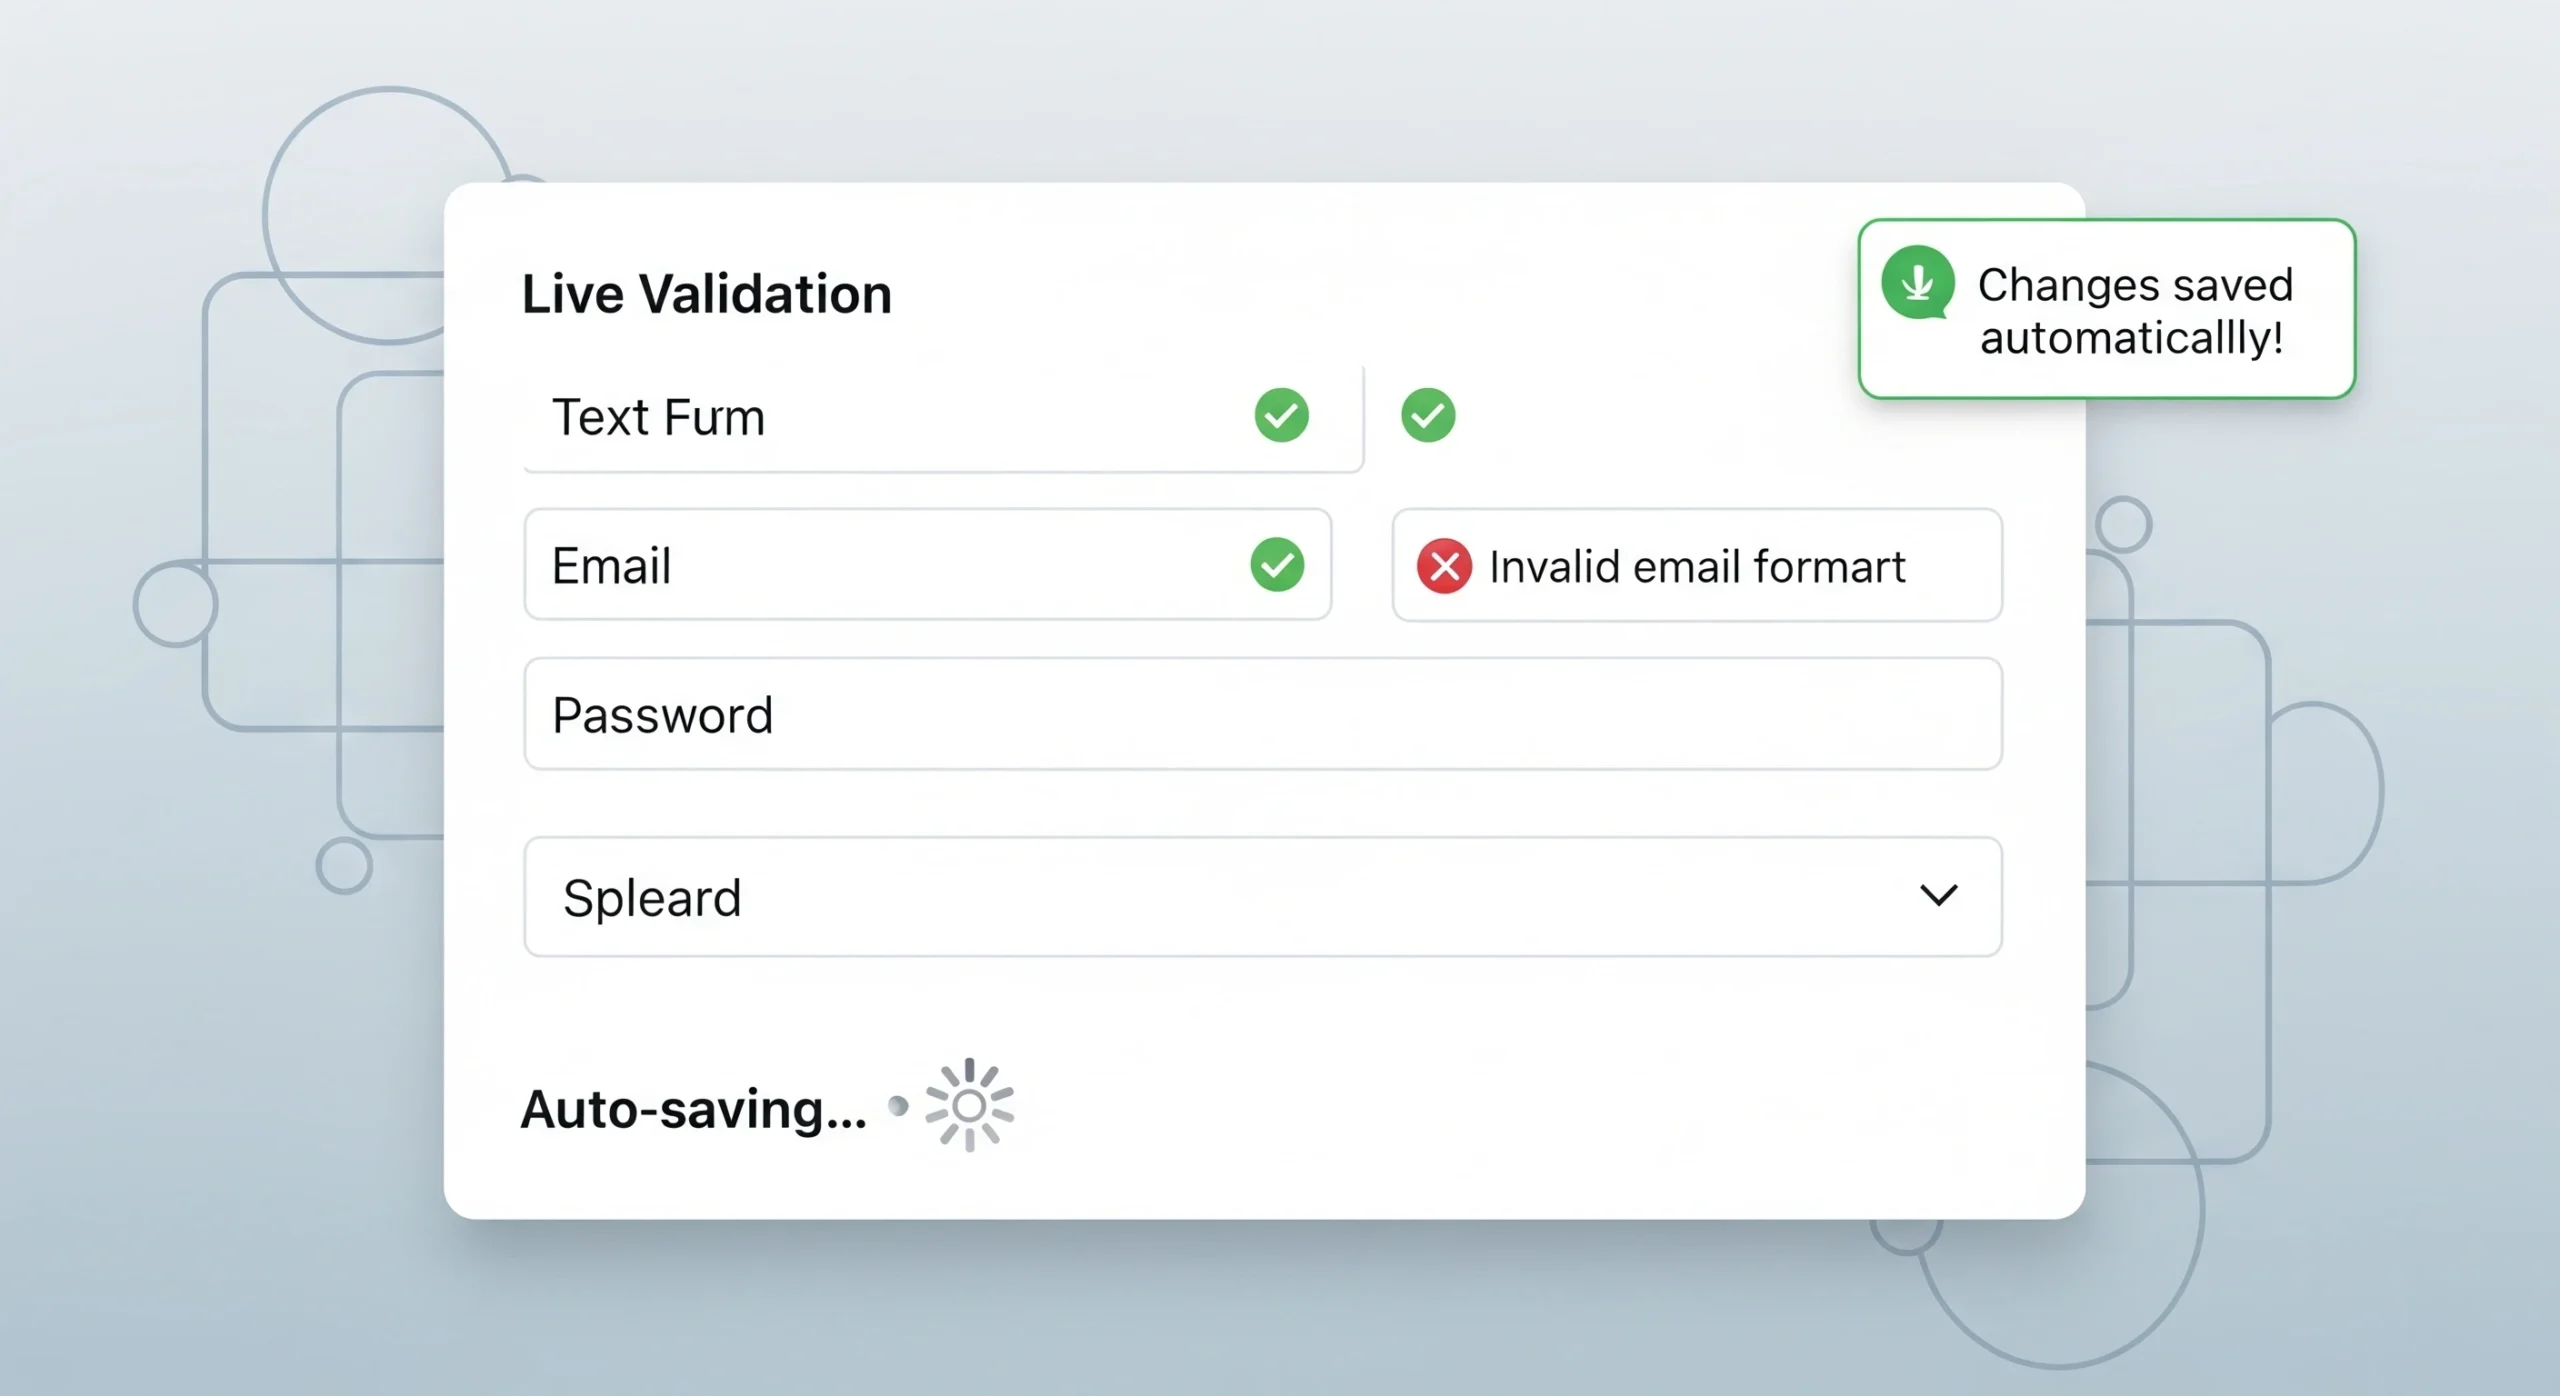
Validate user input instantly (as they type)
Auto-save form progress so users don’t lose their data
Let’s break it down into simple, actionable steps.
Why Live Validation & Auto-Save Matter
Imagine you’re filling out a 10-minute form, and your internet crashes. All that effort—gone. Or you hit “Submit” and get error messages saying you forgot required fields. Frustrating, right?
By adding:
- Live validation, users get real-time feedback on what’s missing or wrong.
- Auto-save, their input is saved automatically (e.g., every 10 seconds or after each keystroke).
This improves the user experience, reduces form abandonment, and helps you collect better data.
What You’ll Need
To follow along, you should:
- Have a basic HTML form in your WordPress page or plugin
- Use jQuery (already included in WordPress)
- Be comfortable editing your theme’s
functions.phpor a plugin file
Step 1: Create Your HTML Form
Here’s a simple form you can drop into your plugin or theme template:
<form id="custom-form">
  <label>Name:
    <input type="text" name="name" id="name" required />
  </label><br>

  <label>Email:
    <input type="email" name="email" id="email" required />
  </label><br>

  <input type="submit" value="Submit" />
  <span id="form-status"></span>
</form>
Step 2: Enqueue jQuery & Your Script
In your theme’s functions.php or plugin file:
function enqueue_custom_form_scripts() {
    wp_enqueue_script('jquery');

    wp_enqueue_script('custom-form-js', plugin_dir_url(__FILE__) . 'form-script.js', ['jquery'], null, true);

    // For AJAX URL
    wp_localize_script('custom-form-js', 'ajax_object', [
        'ajax_url' => admin_url('admin-ajax.php')
    ]);
}
add_action('wp_enqueue_scripts', 'enqueue_custom_form_scripts');
Step 3: Add jQuery for Live Validation & Auto-Save
Create form-script.js in your plugin or theme folder:
jQuery(document).ready(function ($) {
  const $form = $('#custom-form');
  const $status = $('#form-status');

  // Live validation
  $form.find('input').on('input', function () {
    const $field = $(this);
    if (!$field.val()) {
      $field.css('border-color', 'red');
    } else {
      $field.css('border-color', 'green');
    }
  });

  // Auto-save every 5 seconds
  setInterval(function () {
    const formData = {
      name: $('#name').val(),
      email: $('#email').val(),
      action: 'autosave_form_data'
    };

    $.post(ajax_object.ajax_url, formData, function (response) {
      $status.text('Saved!');
      setTimeout(() => $status.text(''), 2000);
    });
  }, 5000);
});
Step 4: Handle Auto-Save in PHP (AJAX)
In your plugin or functions.php file:
function autosave_form_data() {
    $name = sanitize_text_field($_POST['name']);
    $email = sanitize_email($_POST['email']);

    // You can save to user meta, session, DB, or a transient
    set_transient('autosave_form_' . get_current_user_id(), [
        'name' => $name,
        'email' => $email,
    ], 30 * MINUTE_IN_SECONDS);

    wp_send_json_success('Auto-saved');
}
add_action('wp_ajax_autosave_form_data', 'autosave_form_data');
Bonus: Pre-fill Saved Data (Optional)
If you’d like to load saved data when the user returns:
$saved = get_transient('autosave_form_' . get_current_user_id());
$name = $saved['name'] ?? '';
$email = $saved['email'] ?? '';
Then fill it back into the form:
<input type="text" name="name" id="name" value="<?php echo esc_attr($name); ?>" />
<input type="email" name="email" id="email" value="<?php echo esc_attr($email); ?>" />
Final Thoughts
With just a bit of jQuery and WordPress magic, you’ve now added:
- Live validation to improve input accuracy
- Auto-save to prevent lost data
- Restore logic for even better UX
This is especially useful for multi-step forms, long surveys, or job applications.