Introduction
WordPress admin (wp-admin) is powerful but often cluttered and slow for modern projects. As businesses scale, developers look for custom admin dashboards that are faster, more intuitive, and tailored to specific workflows.
By decoupling WordPress admin and using React to build a standalone dashboard, you can create a headless-like admin interface powered by the WordPress REST API while keeping WordPress as the backend.
Why Decouple WordPress Admin?
- Performance: Eliminate unnecessary UI elements and improve speed.
- Custom UX: Build an interface designed specifically for your team or clients.
- Integrations: Combine WordPress data with third-party APIs in one dashboard.
- Scalability: Enable modular frontends without touching wp-admin.
- Security: Limit access to wp-admin and reduce attack surface.
Tools & Stack
- WordPress (REST API enabled)
- React (or Next.js for SSR)
- Axios or Fetch API (for REST requests)
- JWT Authentication or Application Passwords
- Tailwind CSS or Material UI for UI components
- Optional: Vite or Webpack for bundling
Step 1: Enable the WordPress REST API
WordPress provides a REST API out of the box:
arduinoCopyEdithttps://example.com/wp-json/wp/v2/
You’ll use endpoints for posts, users, custom post types, and meta.
Step 2: Authentication
Use Application Passwords or JWT for secure requests.
Example for JWT Authentication plugin:
// In functions.php or plugin
add_filter('jwt_auth_whitelist', function($endpoints) {
    $endpoints[] = '/wp-json/';
    return $endpoints;
});
Now, React can authenticate using Bearer <token>.
Step 3: Set Up React Project
Create a new React project:
bashCopyEditnpx create-react-app wp-admin-dashboard
cd wp-admin-dashboard
npm install axios tailwindcss
Initialize Tailwind:
bashCopyEditnpx tailwindcss init
Configure tailwind.config.js and include it in your index.css.
Step 4: Connect React to WordPress REST API
Create an API service file:
javascriptCopyEdit// src/api/wp.js
import axios from 'axios';

const API_URL = 'https://example.com/wp-json/wp/v2';
const TOKEN = 'your-jwt-token';

export const wpApi = axios.create({
  baseURL: API_URL,
  headers: { Authorization: `Bearer ${TOKEN}` },
});

export const fetchPosts = () => wpApi.get('/posts');
export const fetchUsers = () => wpApi.get('/users');
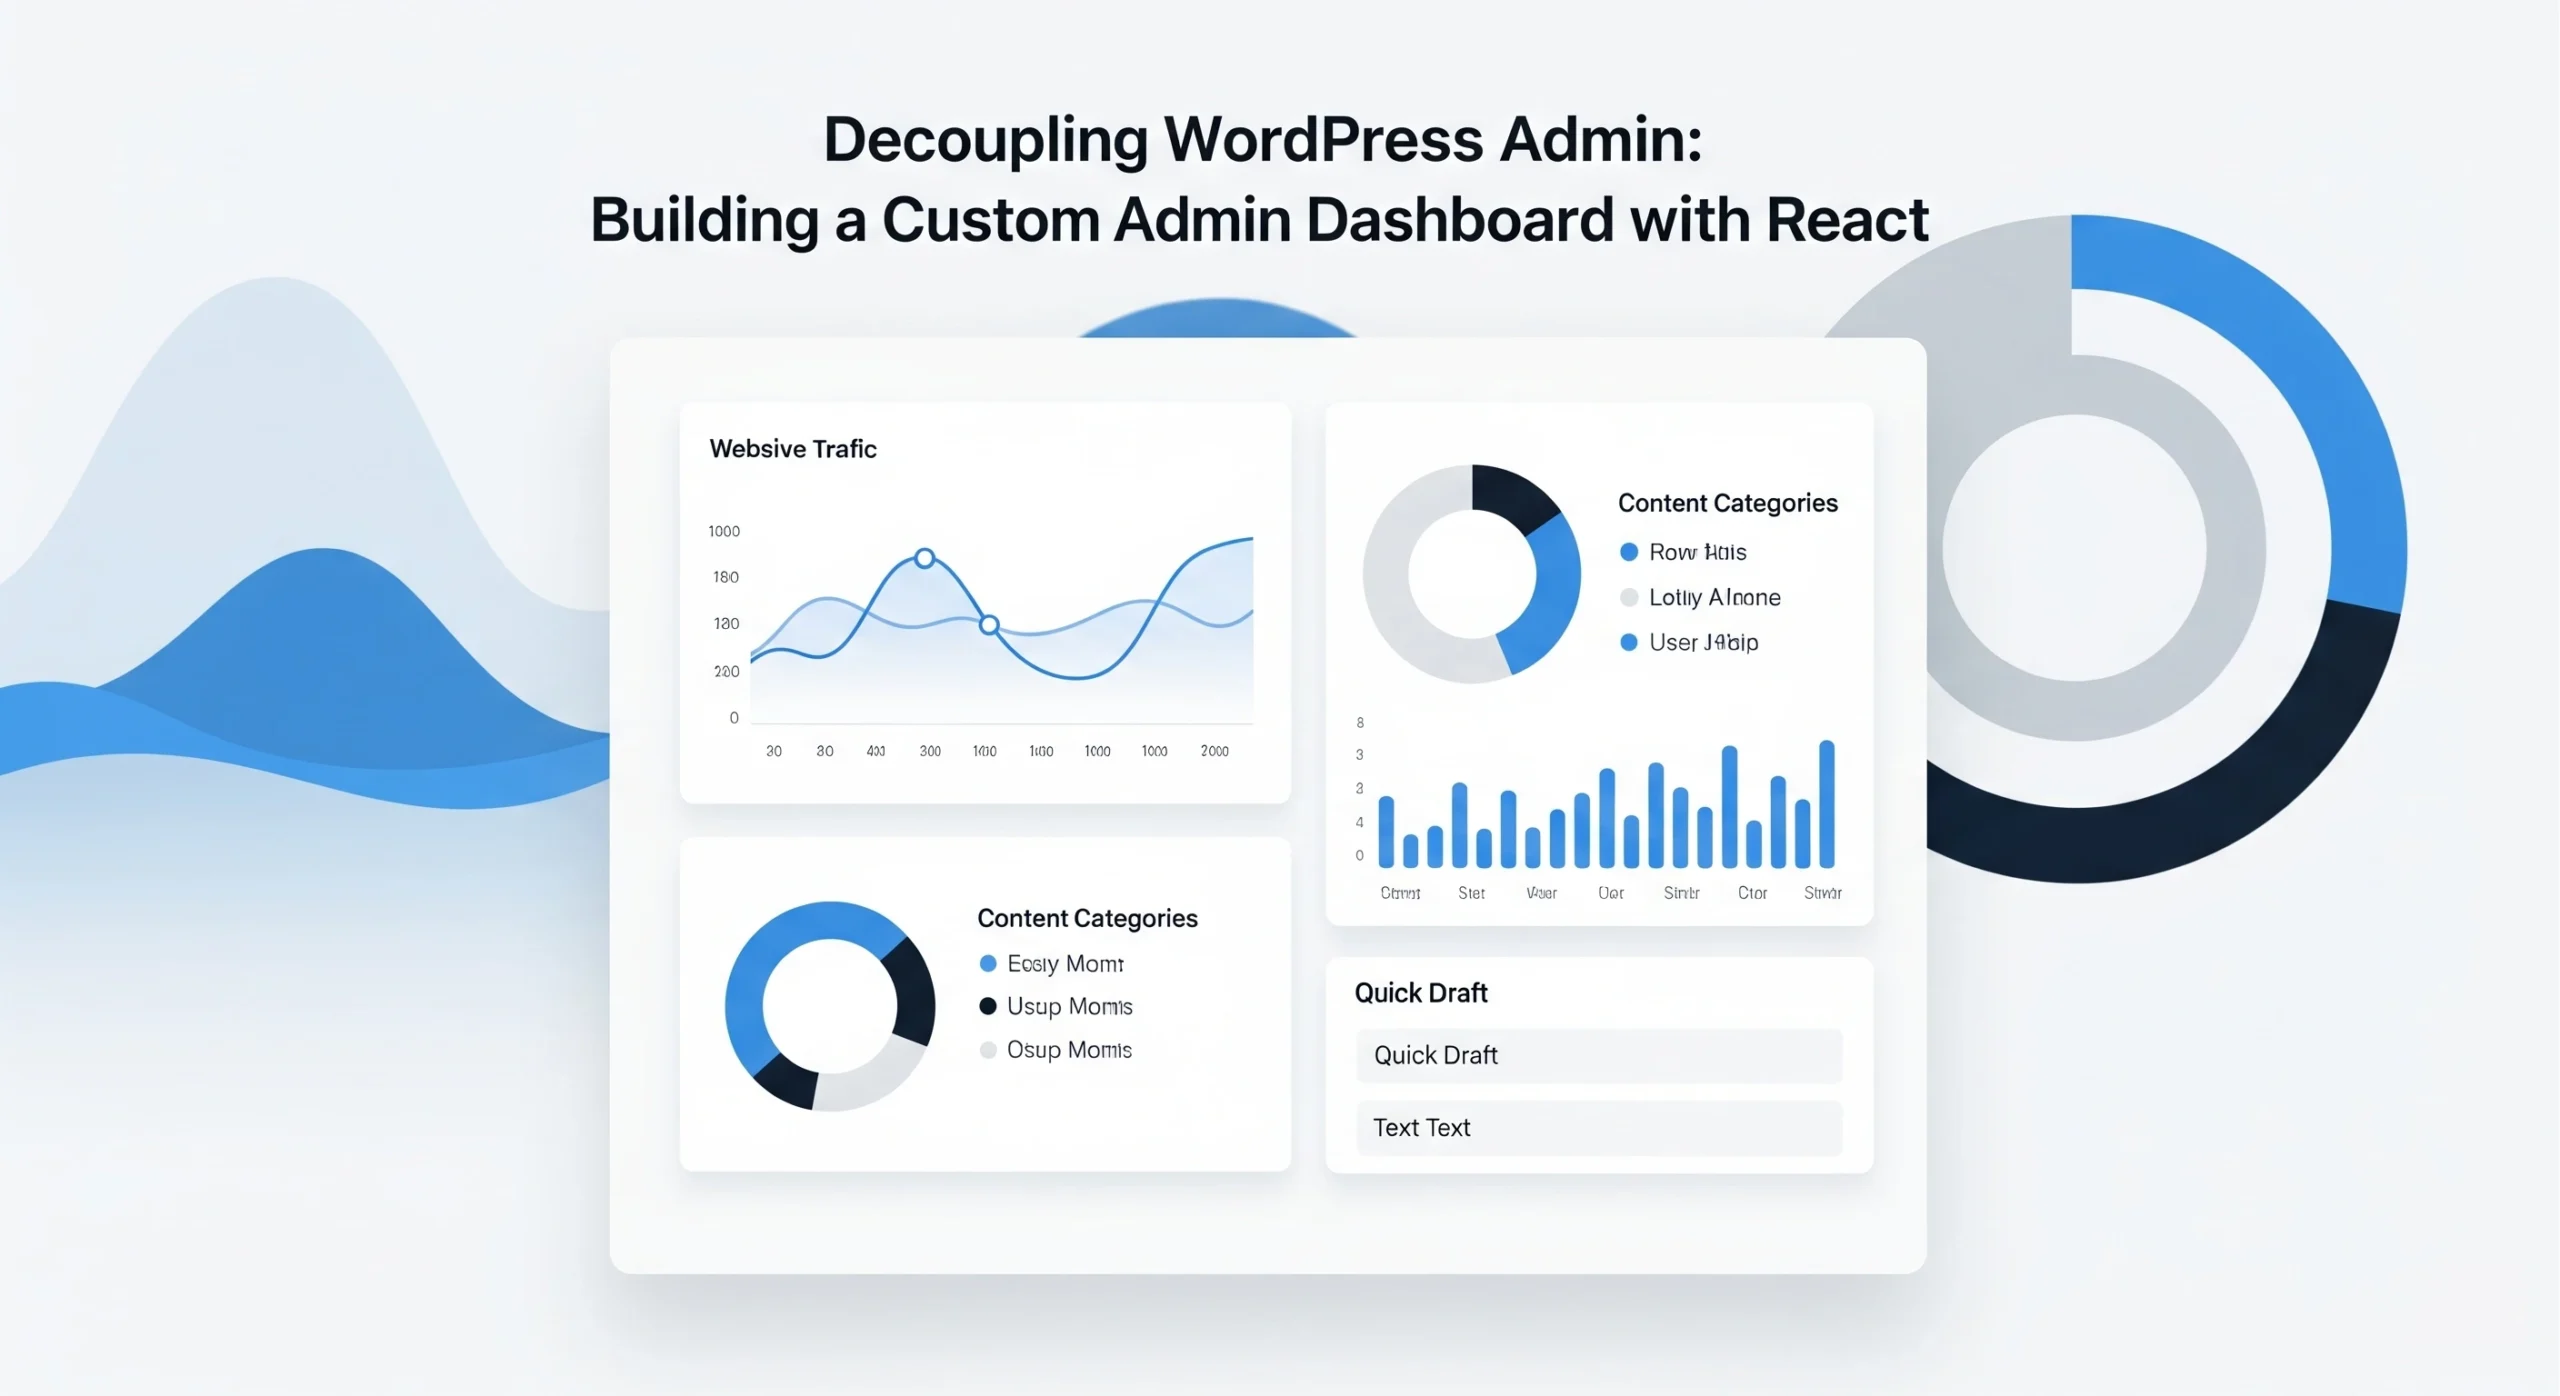
Step 5: Build a Custom Dashboard UI
Example React component:
// src/components/Dashboard.js
import React, { useEffect, useState } from 'react';
import { fetchPosts } from '../api/wp';

export default function Dashboard() {
  const [posts, setPosts] = useState([]);

  useEffect(() => {
    fetchPosts().then(res => setPosts(res.data));
  }, []);

  return (
    <div className="p-6">
      <h1 className="text-2xl font-bold mb-4">Custom WP Dashboard</h1>
      <ul>
        {posts.map(post => (
          <li key={post.id} className="border-b py-2">
            {post.title.rendered}
          </li>
        ))}
      </ul>
    </div>
  );
}
Step 6: Add Role-Based Access
Create a custom endpoint to return user roles:
add_action('rest_api_init', function () {
    register_rest_route('custom/v1', '/current-user', [
        'methods'  => 'GET',
        'callback' => function () {
            $user = wp_get_current_user();
            return [
                'id'    => $user->ID,
                'roles' => $user->roles,
            ];
        },
        'permission_callback' => '__return_true',
    ]);
});
Use this in React to hide/show admin features based on roles.
Step 7: Advanced Features
- Custom CRUD UI for custom post types or orders
- GraphQL with WPGraphQL for optimized queries
- Realtime updates using WebSockets or Pusher
- Multi-site management from a single React dashboard
- Headless authentication with Single Sign-On (SSO)
Security Considerations
- Restrict API access to authenticated users.
- Use HTTPS for all requests.
- Implement nonce or JWT for write operations.
- Limit user capabilities in WordPress to prevent API misuse.